Previously, I used Overleaf to write .tex files. It’s convenient, beginner-friendly, and great for collaboration. However, it only works online, which means you can’t draft your paper on a flight (maybe it’s a good thing). That’s why I’ve started transitioning to writing and compiling .tex files locally on macOS.
This post is a collection of helpful resources for setting up a local LaTeX environment.
Introductory LaTeX resources
There are some excellent beginner-friendly Chinese docs:
(Here I’d like to recommend Liam Huang’s blog on LaTeX, where you can find almost everything you need to know!)
More comprehensive official documentation in English:
Getting started
To set up a local LaTeX environment similar to Overleaf, you’ll need:
- TeX distribution: This is the core engine and format bundle. On macOS, people usually use MacTeX (a TeX Live distribution for Mac).
- Editor: You can use the default TeXShop editor or other text/code editors like VS Code or Sublime Text.
Let’s go through the installation step-by-step.
Install TeX Live (MacTex)
Be prepared — downloading MacTeX can take a few hours, so it’s often better to use mirror sites.
- TeX Live (Windows): Official
- MacTeX (Macs): Official , SJTU mirrors
Reference: Installation guide in Chinese by Liam Huang
Install editors
For a quick start, you can launch TeXShop, which comes with MacTeX. You’ll see a simple blank window — this is your editor. Insert a LaTeX template, click compile, and the resulting PDF appears in a separate window. Clean and elegant, right?
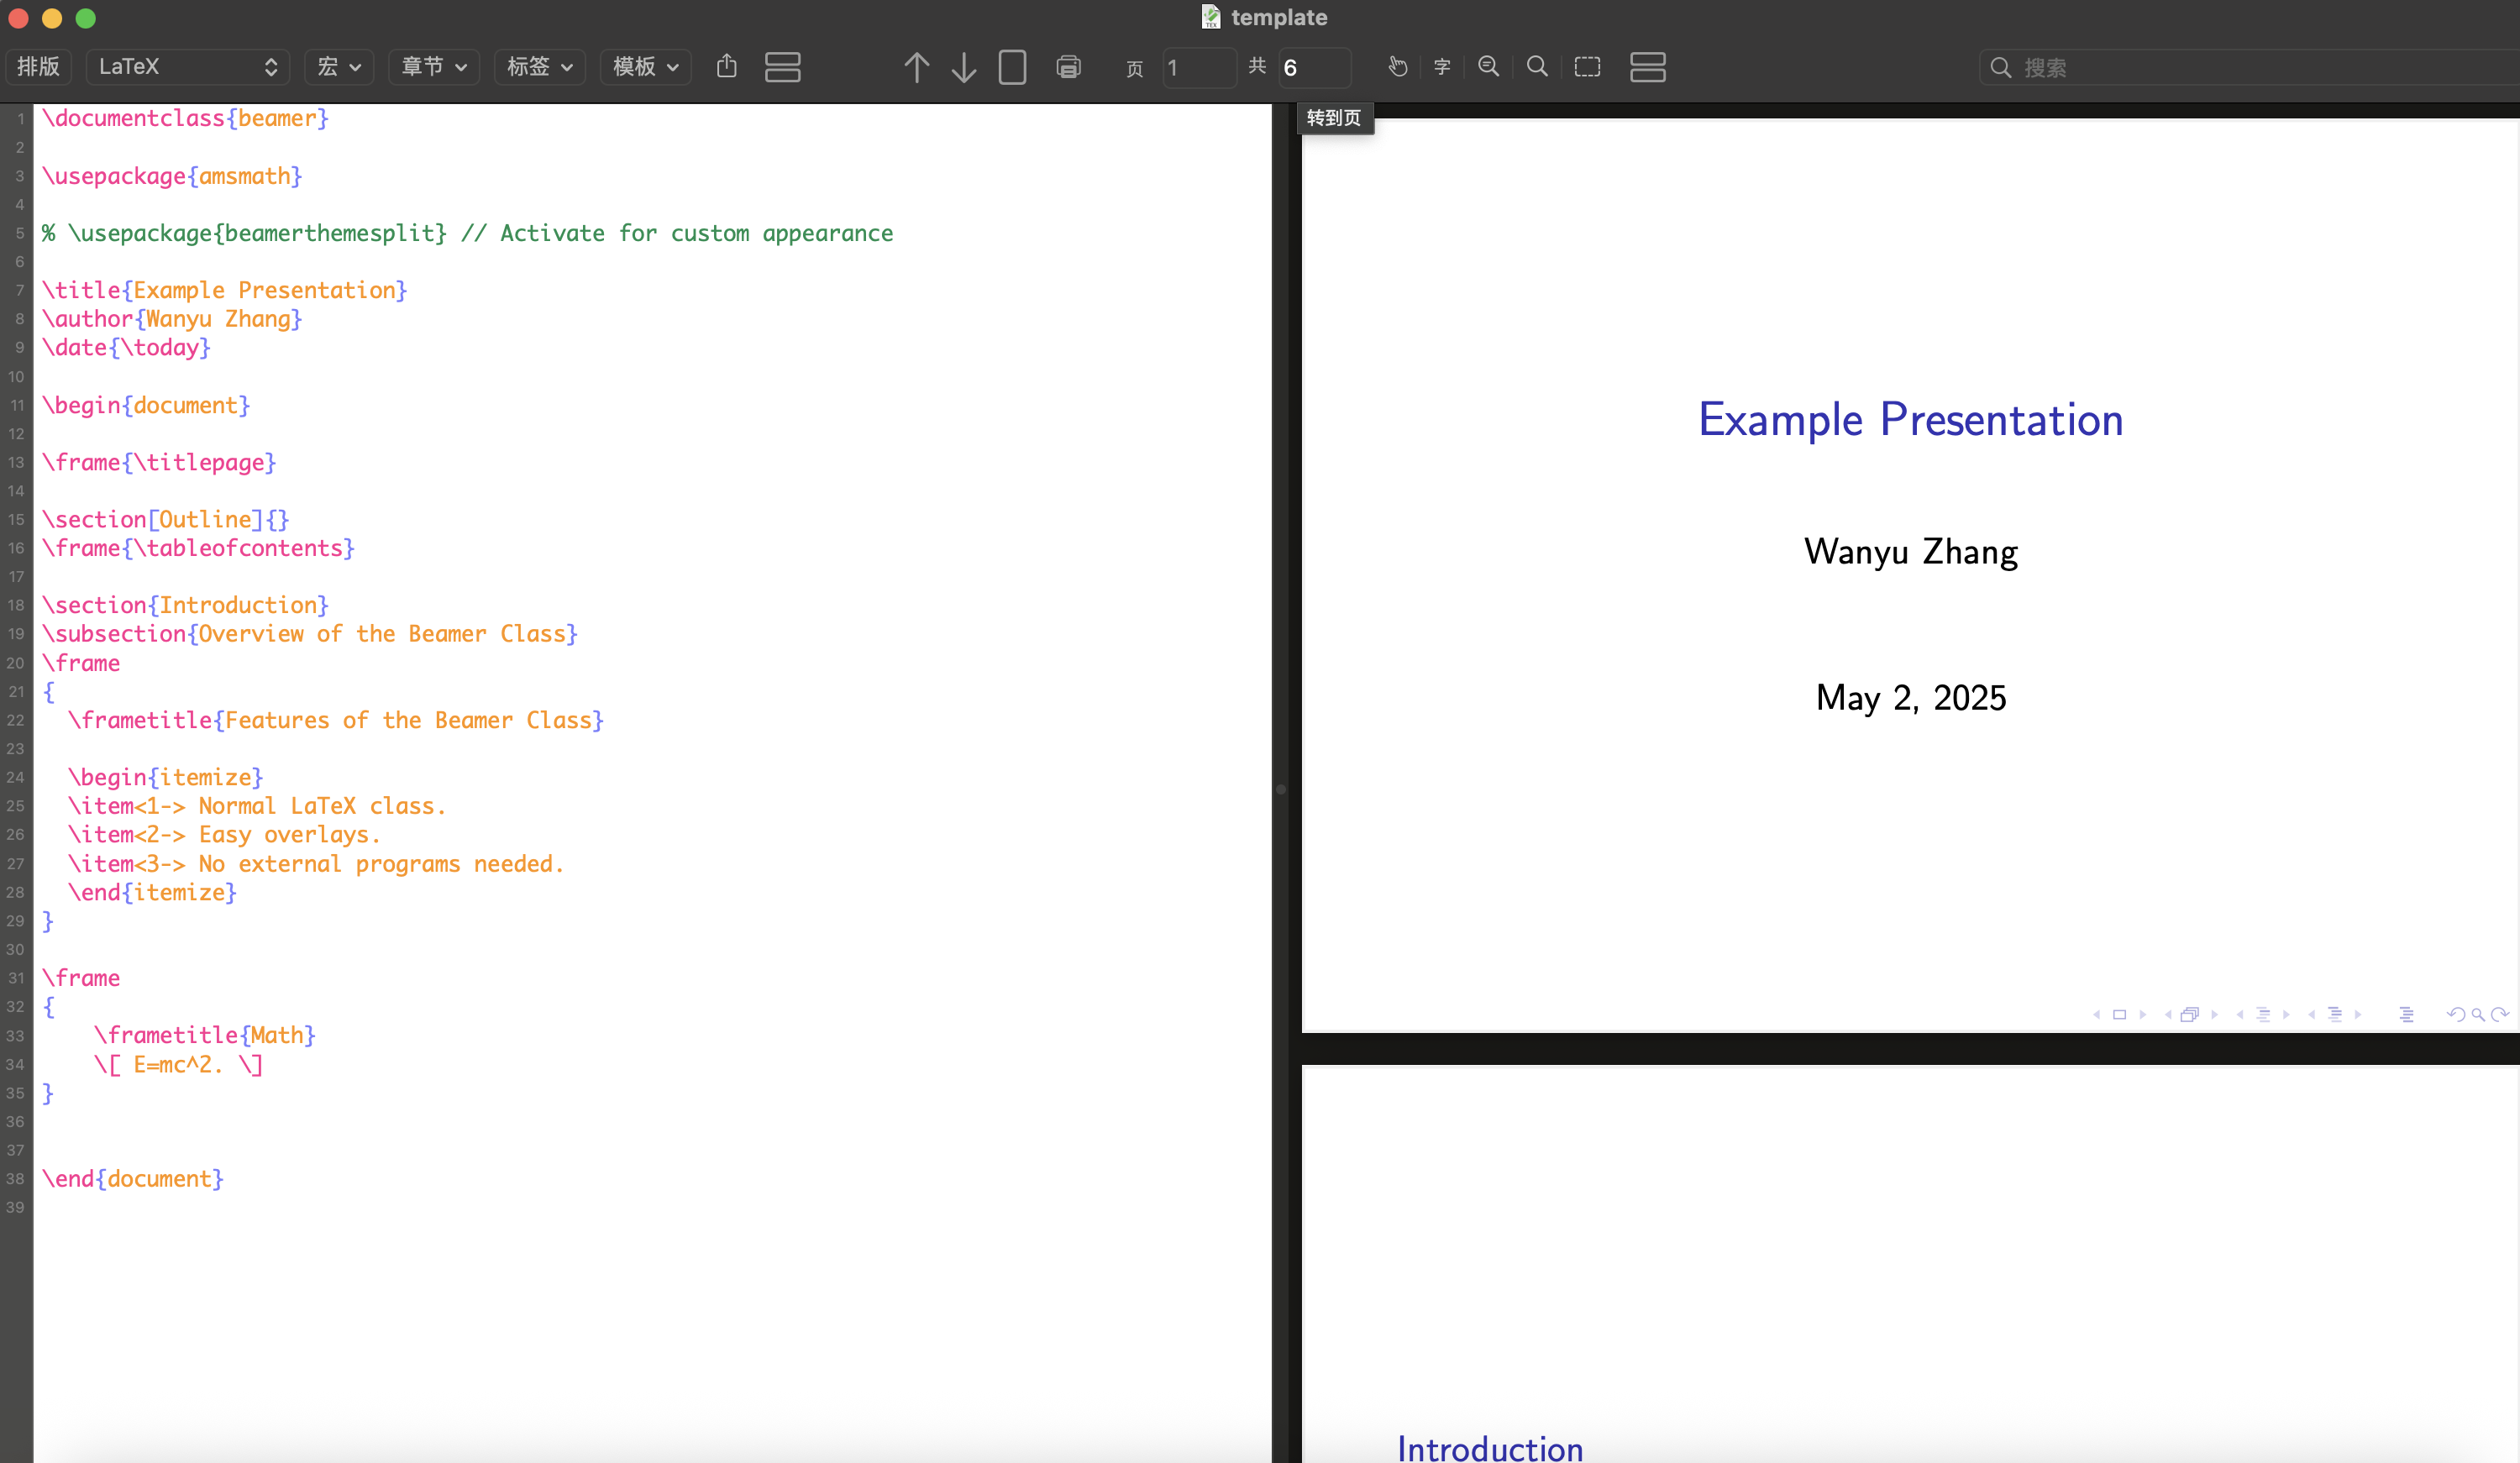
If this default setup works for you, great! You’re all set. However, if you want more features or flexibility, you can try other editors like VS Code or Sublime Text.
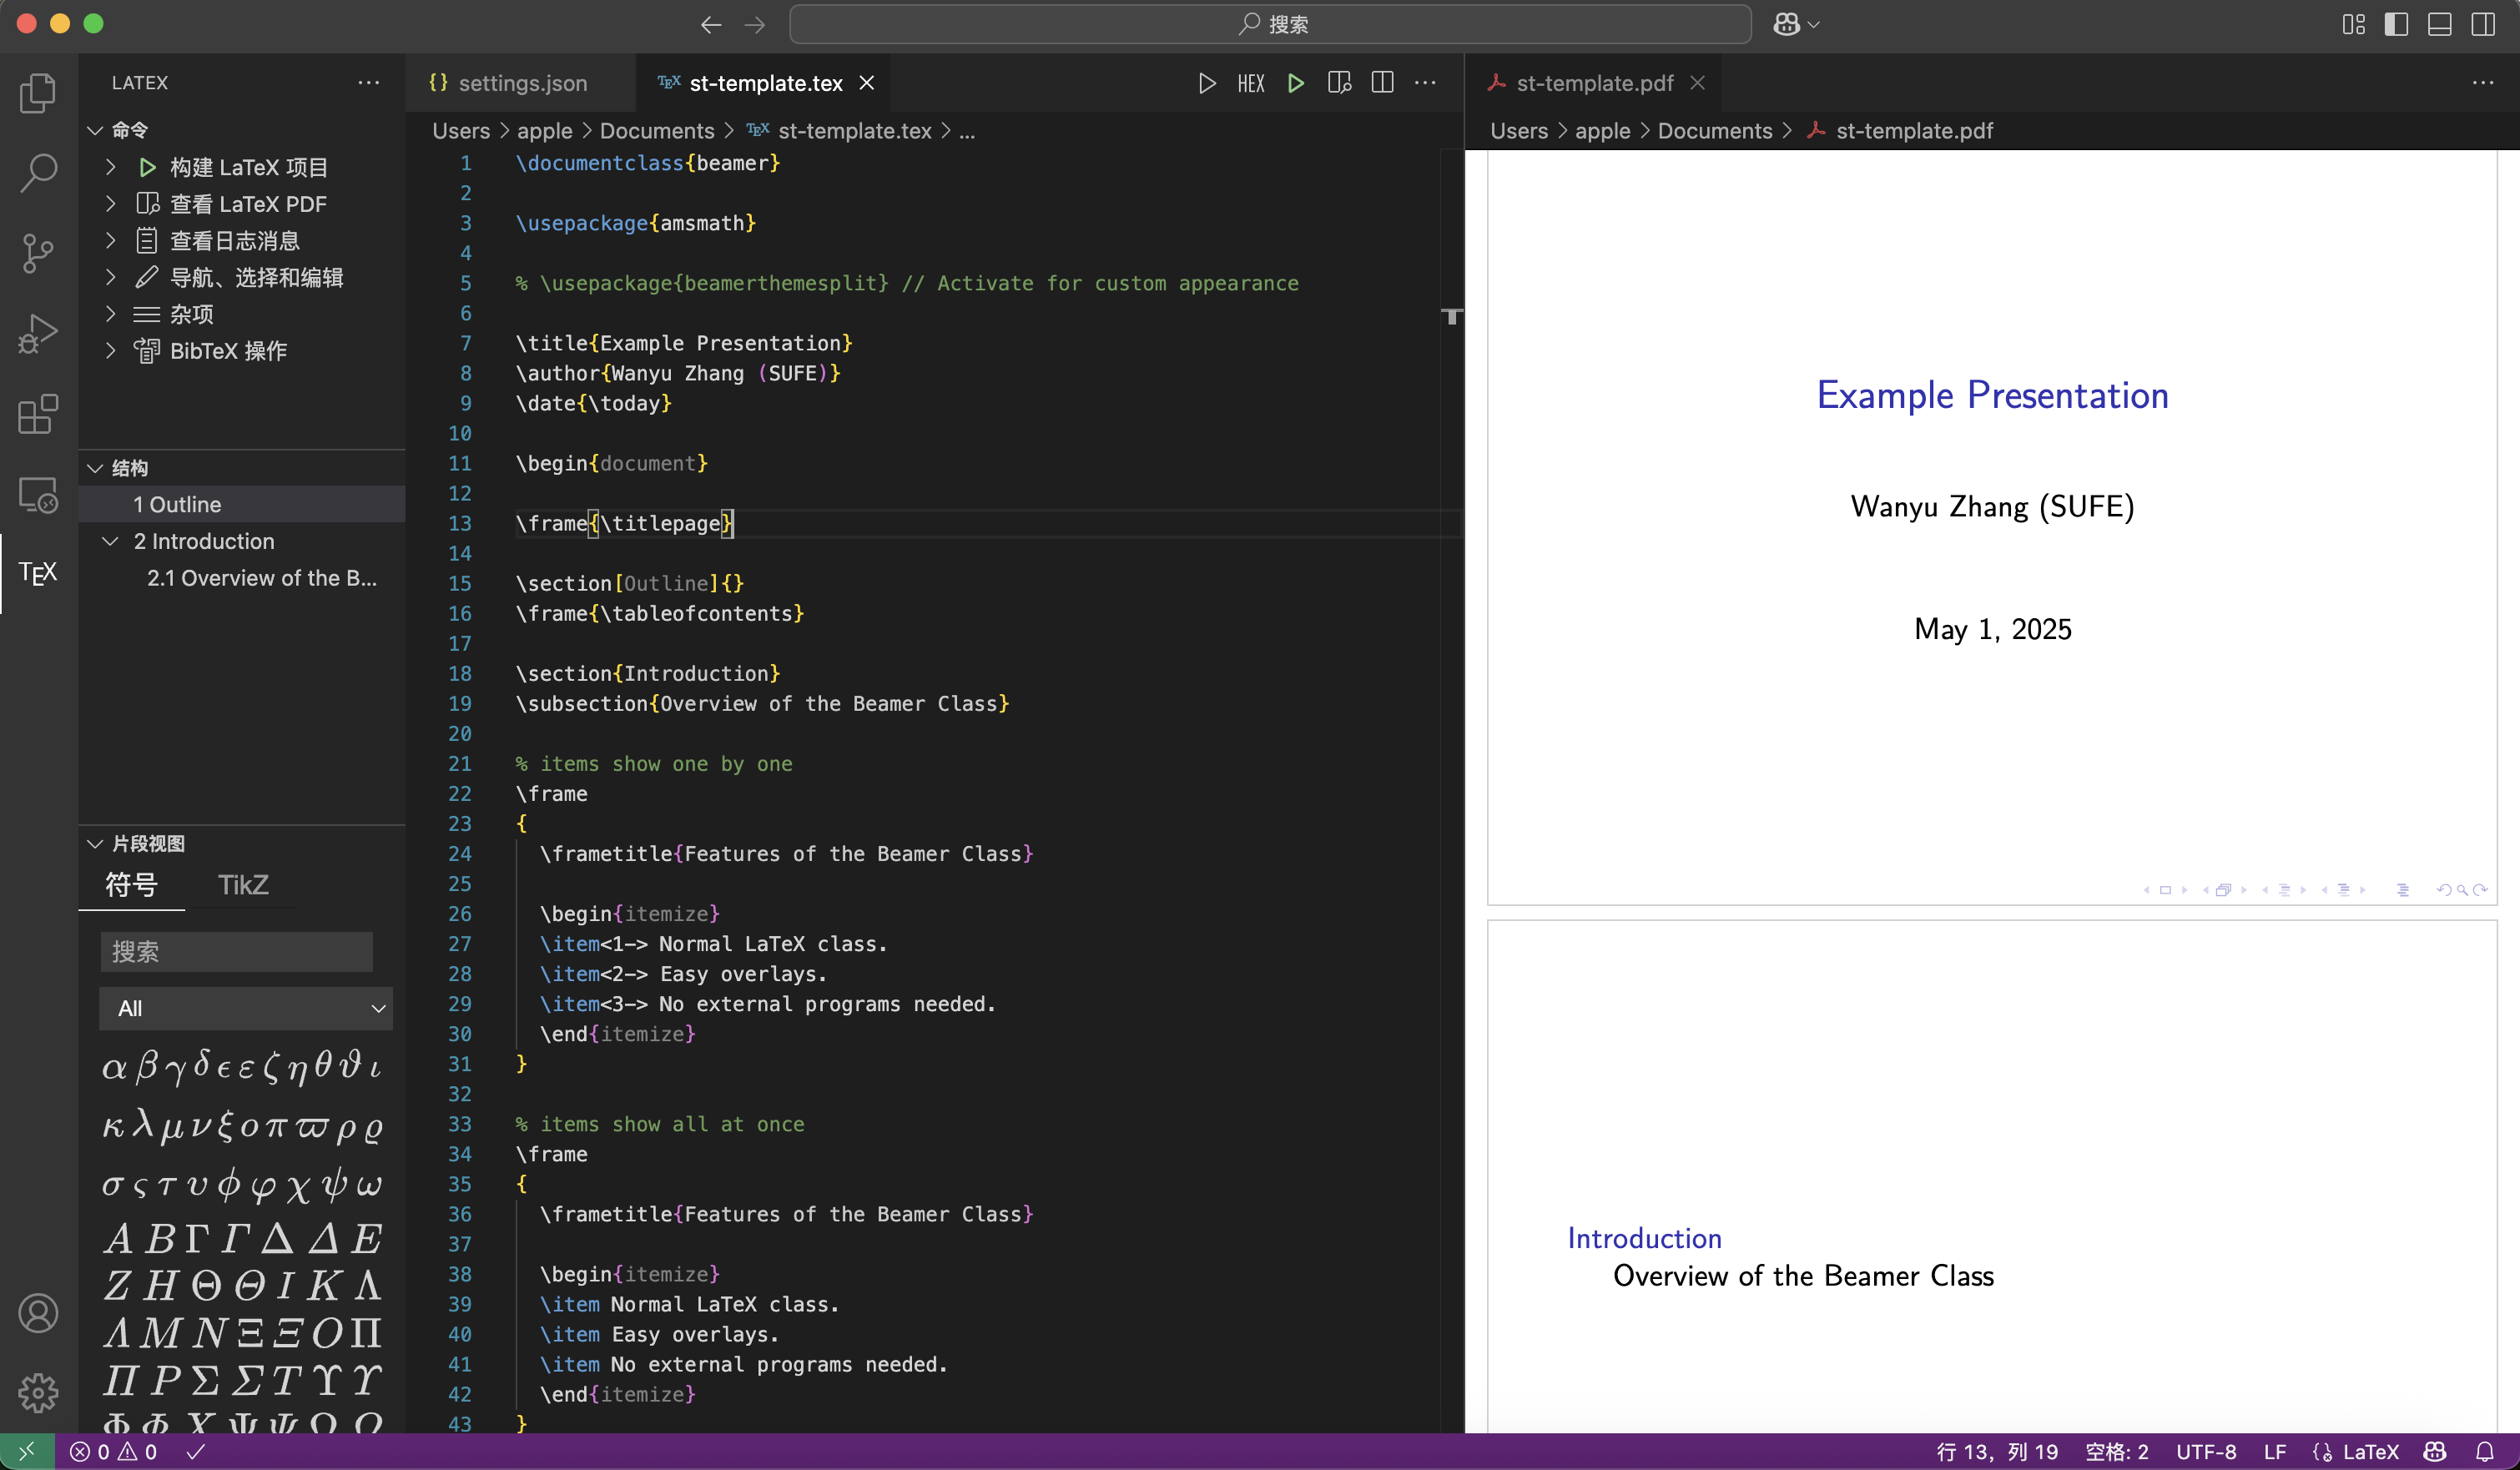
VS Code configuration
You can follow this tutorial to configure VS Code. However, I encountered a couple of issues during setup. Here’s how I resolved them:
chktex could not be foundwarning
Solution: Disable the linter by adding this to your settings.json:
"latex.linter.enabled": false
Error: spawn pdflatex ENOENT
This indicates the LaTeX binary isn’t found. Add the correct environment path to your settings.json (specific to macOS):
"latex-workshop.latex.tools": [
  {
    "name": "pdflatex",
    "command": "pdflatex",
    "args": [
      "-synctex=1",
      "-interaction=nonstopmode",
      "-file-line-error",
      "%DOC%"
    ],
    // Start: newly added
    "env": {
      "PATH": "/Library/TeX/texbin:/usr/local/bin:/opt/homebrew/bin:${env:PATH}"
    }
    // End: newly added
  }
],
🔧 Make sure to set the environment path for each tool (e.g., pdflatex, xelatex, latexmk) under latex-workshop.latex.tools.
With all problems settled down, the compiler should work smoothly. The result looks quite polished:
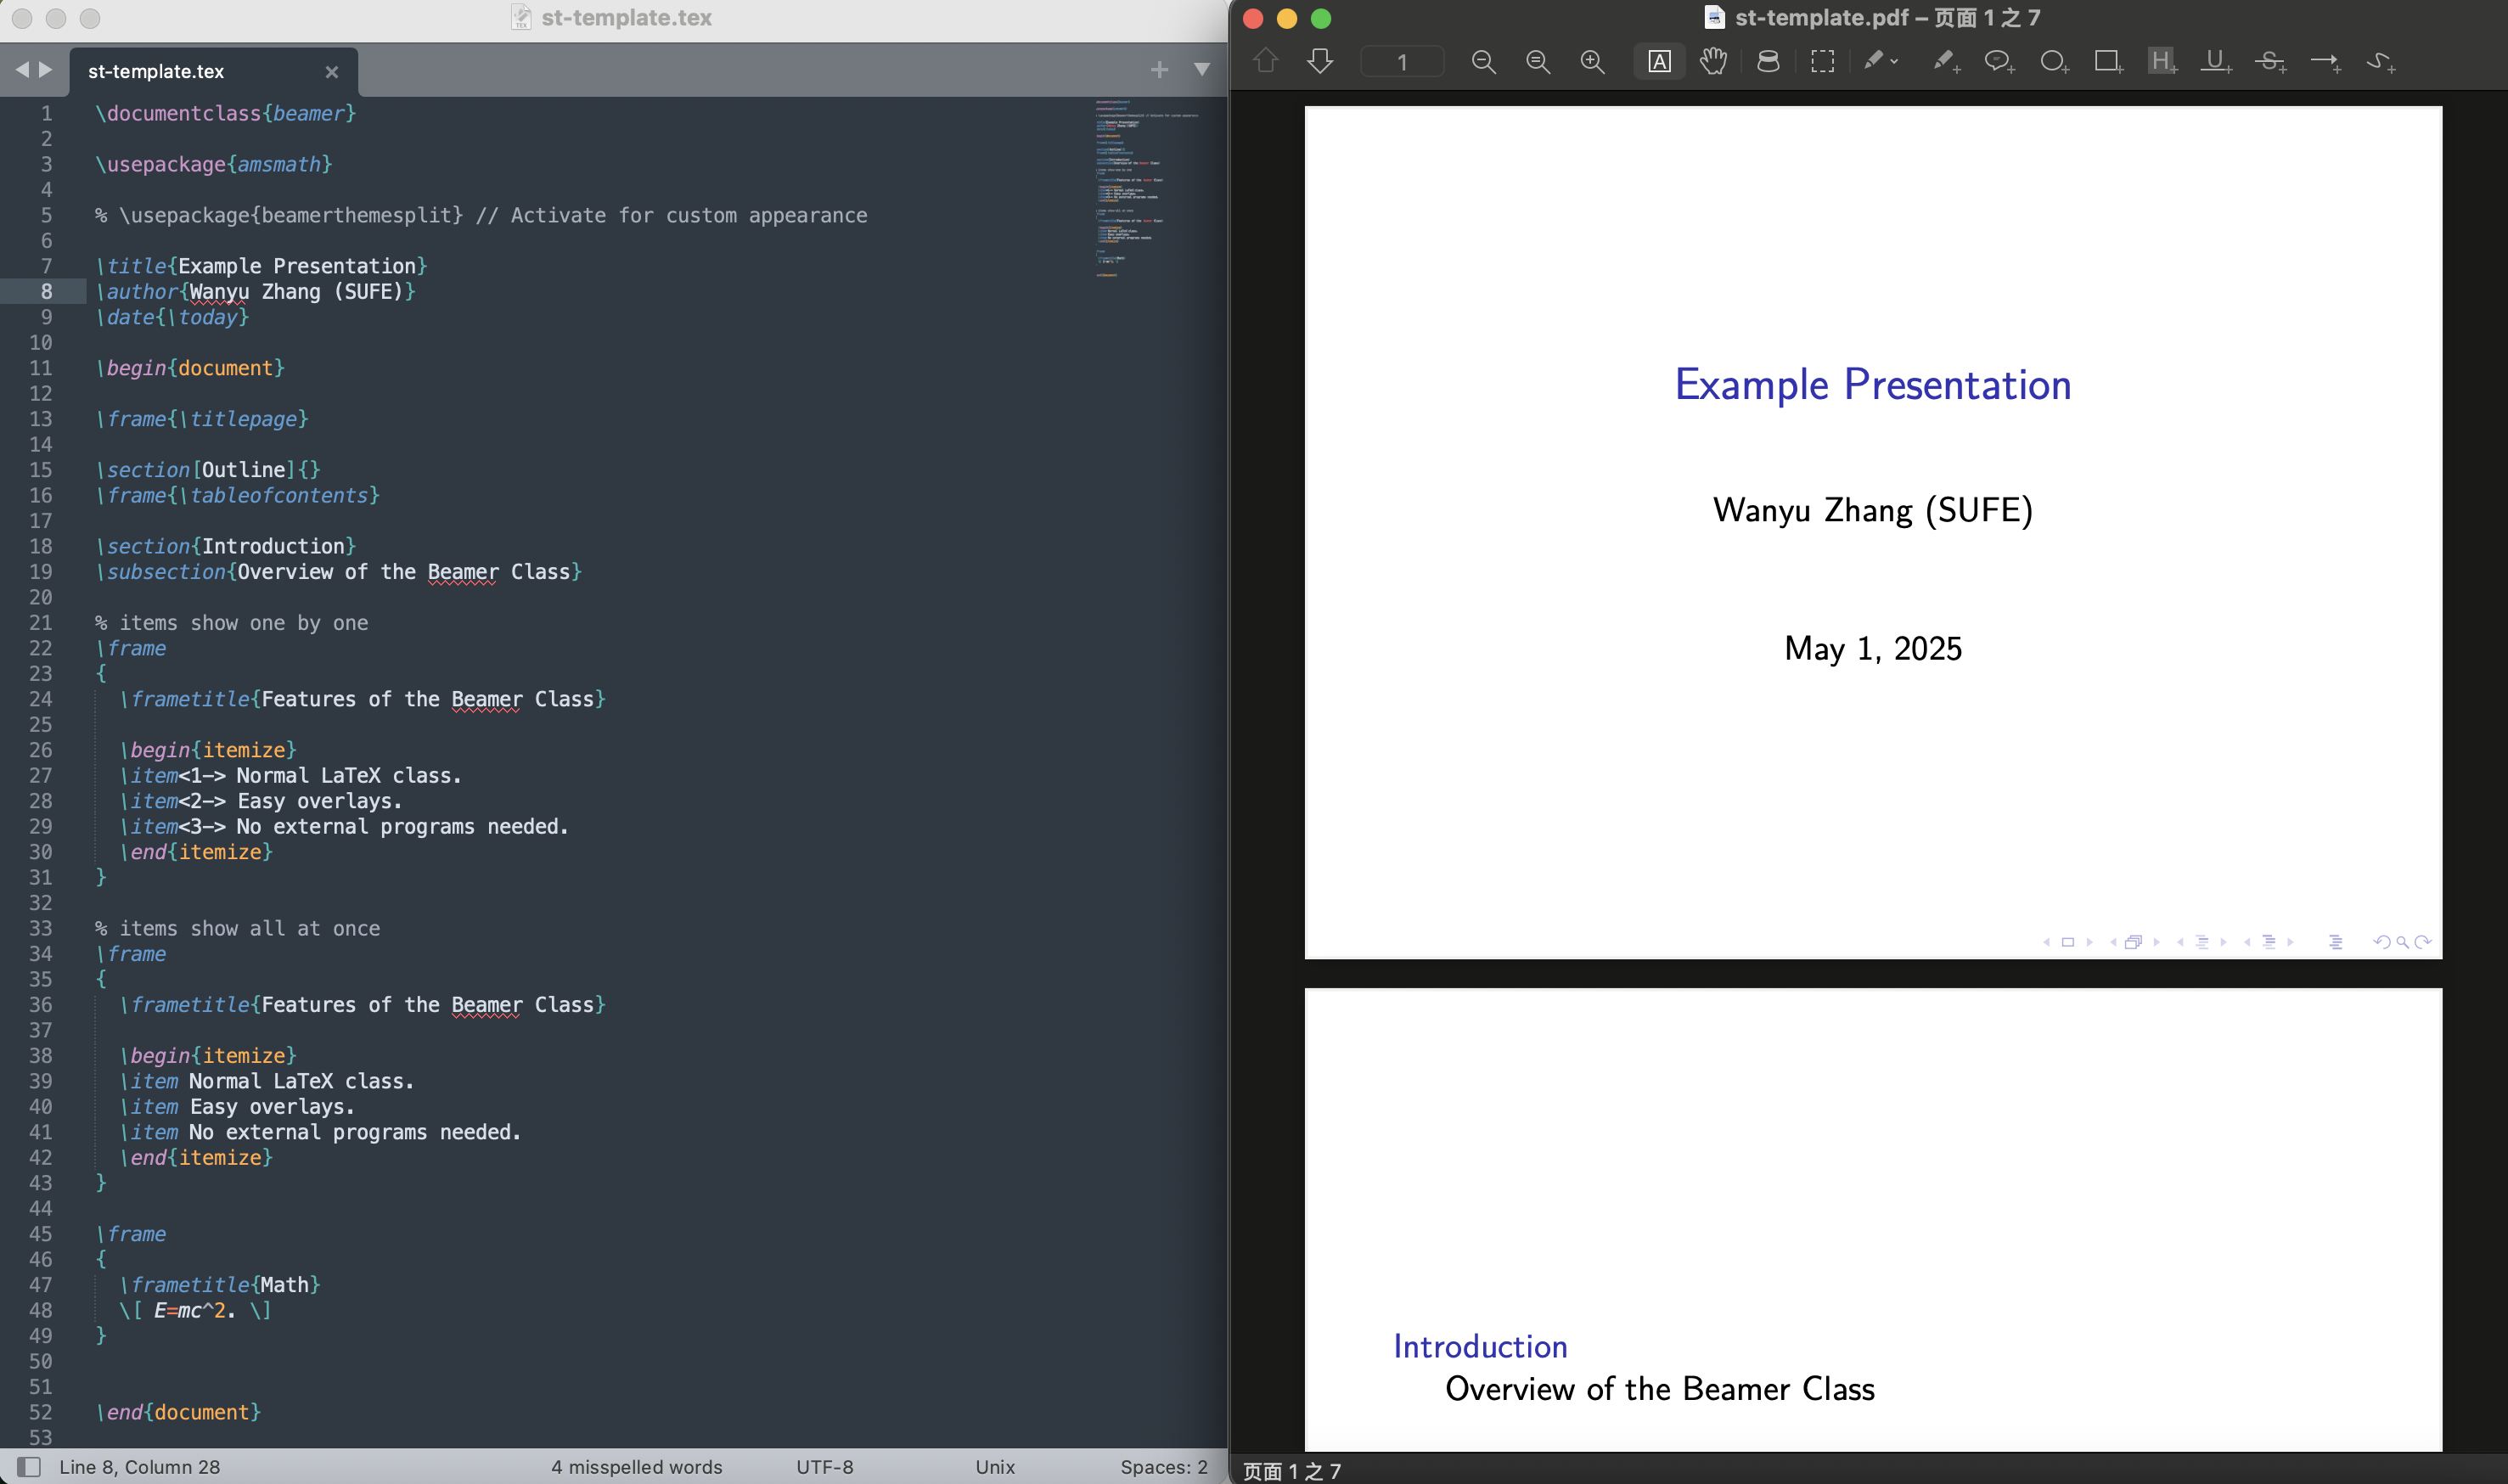
Sublime Text configuration
I hadn’t used Sublime Text before writing this post, but it seems to be a powerful and customizable editor. I’m looking forward to exploring it further.
Helpful guides I used:
- Sublime Text installation and introduction (Chinese)
- Sublime Text + LaTex for Windows (Chinese)
- Sublime Text + LaTex for Windows (EN/CH)
- Sublime Text + LaTex for Macs (EN/CH)
After following the instructions, your setup will look like this: